Showing posts with label sewing. Show all posts

Sunday, August 15, 2010

Dress


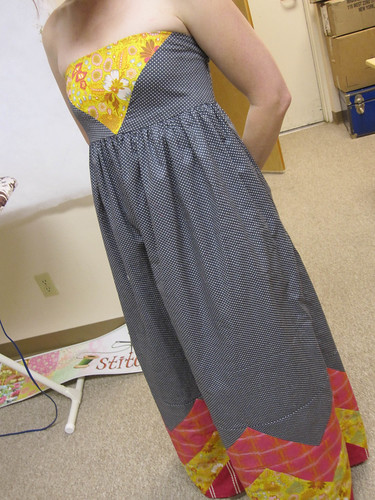
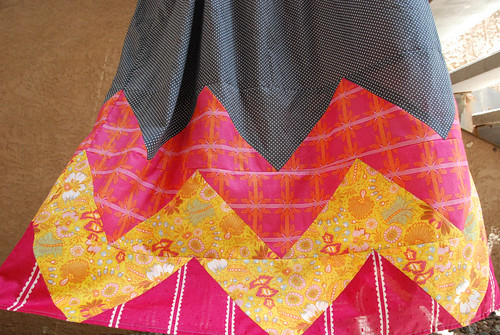
Look at my Evening Empire dress (pattern by Anna Maria Horner)! This is Option B.

This pattern was a DREAM. It took me 6 days (mostly evenings).

Fabric
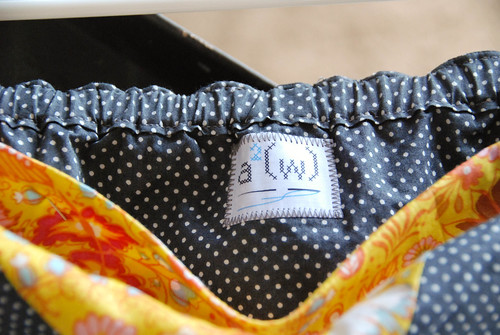
The yellow and pink fabrics are Anna Maria Horner. The bottom one is a pink dobby dot from the Pastry line collection, the other 2 are Little Folks voile. The grey & while polka dot is like a lawn that I bought in Costa Rica. The pink lining was so discount fabric from Hancock, and I'm not sure what the exact fiber content is (mostly cotton from the feel). I was hesitant about sewing with such light fabric, but it went really well. I pinned more than I usually would, but I was also more careful than usual because I wanted it to turn out well.


Pattern
I did NOT cut out the pieces. I used tracing paper and a tracing wheel to make cardstock templates of the smaller pieces, and traced directly onto the fabric for the skirt front & back pieces.
I'm mostly a quilter, so I used my ruler & rotary cutter for EVERYTHING. 

Sewing
I did this project bit by bit. One night I cut out pieces. 
The next night I sewed the bodice. I opted for the elastic on the back and am SO GLAD that I did. The directions were a bit confusing with left & right, but the accompanying diagrams answered all of my questions.
Then the zigzags & skirt front (& next day zigzags & skirt back). HERE ARE MY 2 ALTERATIONS. When I sewed the rows of zigzags to the skirt front, I used a 3/8" seam allowance, as opposed to the 5/8" specified. I tried 5/8" and ripped it out because my peaks were cut off. 3/8" worked for all the rows. And when I sewed the front to back, I used the specified 5/8" allowance and everything lined up perfectly. I also SHORTENED the dress 2" (I'm about 5'3").
Gathering the skirt went so much easier than I expected, the directions were clear and easy to follow.  At this point it all started to come together and I couldn't wait to finish. But I did, because slow & steady gets and awesome dress.
Finally it was time to finish. The invisible zipper directions are AMAZING. No need for a special foot (just a zipper foot). Sewing in the zipper to the outer & lining was a bit confusing, but again, the diagrams really made it easy to understand.


The cons
This dress is not made for small people. I made an XS, took in the side seams, and the top is still HUGE. I'm a 32A, so granted there isn't much there to hold things up, but still. I am SO GLAD that I added the elastic. The back is really cinched in, but it doesn't look bad when the dress is on because of all the gathering at the waist. 
That's the only con...


Friday, August 13, 2010

I WON!!!

So, for the first time EVER, I won a blog giveaway. I know, it totally made my very boring school day. 

Evelyn from Use the Loot very generously hosted a giveaway for a charm pack of 70 6" vintage linen squares. 70!! I never find cute sheets around my thrift stores, so I am totally stoked! I can't wait to get squares and put something together!

You should check out her blog AND this crazy awesome quilt.

I'm so happy!  :)


Tuesday, July 20, 2010

Feeling funky

I FINALLY finished my July bee blocks. I realize it's not really late, but I got the fabric in June, so I've had it for a while.


Full disclosure: I had NO desire to make these blocks. The idea seemed fussy and not my style. I don't have a house, I have an apartment, and I hate it. My biggest wish is that I had a house of my own, so this block kinda rubbed in my face that I didn't have a house of my own to base the block off of. Also, I went to school to be an architect, so I have very rigid ideas about how drawing, models, and sewn models (?) should be. It was very hard to translate my sketches into fabric. Also, I was short fabric. Well, I had leftover, but the designs I wanted to use the most were the small pieces. :( Lots of extra piecing to make the fabric stretch.


Ok, b*tching over. I sucked it up this morning and just made a go of it.


And you know what? It wasn't as bad as I had built it up to be in my head. My house block is based off of the house I grew up in. And while it isn't perfect, I think it came out pretty good. And my person block - LOVE. I don't want to send it off!! I had no idea how much fun the person block would be! I want to make more. Maybe one of me & the boy holding hands? LOVE the person block. Who knew it would be so much fun? I added yellow from my stash since I didn't get any in my packet, but it wouldn't be me without yellow.


Oh, you want to see the blocks? Of course!


Sunday, July 18, 2010

The couch!!

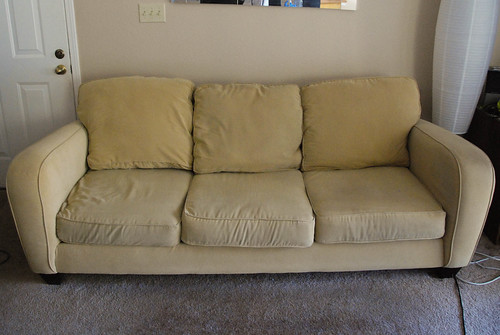
Before
It's dingy, and the cushions were deformed. I think there was a permanent butt imprint. You can just trust me on this, no close-ups!


During
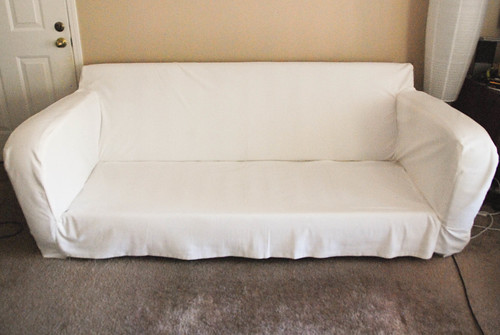
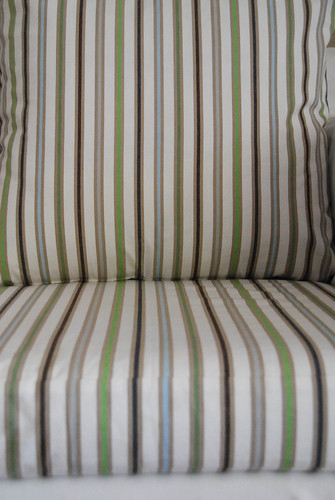
Phase 1: Covering the body. The white is from Ikea and I used about 6 yards. I did this back in May (??). It needs to be washed. And hemmed. 


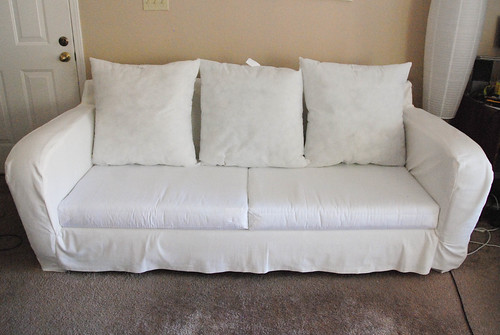
Next I remade the cushions. 4" foam, batting, and a white muslin cover sewed on. I just made 2 long cushions instead of 3. I was going to do the back the same way, but I didn't think it would look right. So I bought 3 24" square cushions from Hancock. They were the right height, but too narrow. So I went back for 3 27" square pillows. These were too tall. So when I made the cases, I cut them 25" x 28" and just squished the pillow in (not a problem at all).


After:
If you are ever at Ikea buying fabric to recover your couch, you should not let this conversation happen:
Me: I want to cover it in white.
Boy: No, it will get too dirty.
Me: But you can wash it.
Boy: No, I don't want to worry about being messy.
Me: Fine, which one do you like


* Here is the important part *
Boy: How about this one?
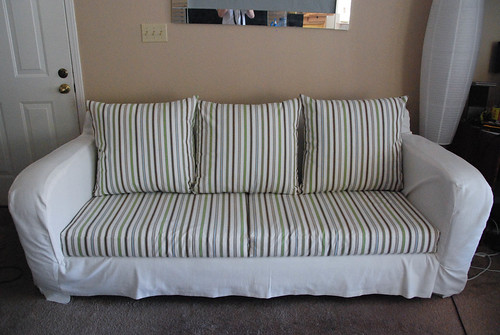
* If he points to stripes say NOOO. Unless you have lots of time, are a perfectionist, and like tedious sewing. 


So here it is!


It turns out, after looking at these pictures, that I don't actually like it. But that's the good thing about slipcovers, right? As soon as I have the right fabric & energy, I can easily make a new cover. I have templates to use now!!

Saturday, July 17, 2010

Late night

When the boy is away, I do things around the apartment. Late at night. So pictures are either flash-tastic, or dark. Maybe I'll show you the new bedroom look sometime.


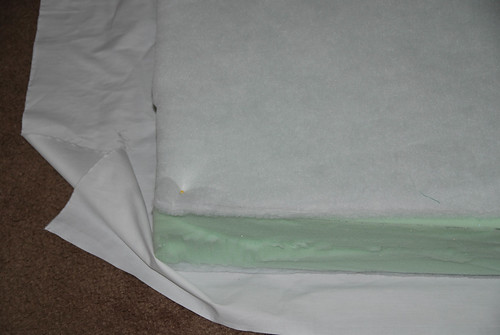
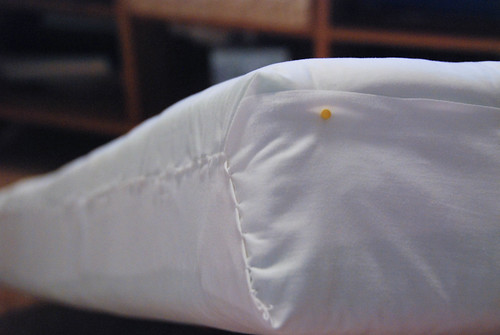
I started slip-covering the couch in May, and am getting closer! The cushions were gross & squished, so I'm redoing the cushions. I'm sewing a white cover onto the foam, and will then put on a "pillowcase" cover that I can wash. That way the foam stays protected. Overkill, maybe, but seriously, those old cushions were gross.


Bleached muslin (Kona, 90", I bought a bolt when I had a 50% off coupon...this used about 1.5 yards, so $4.50), batting (bought today with a 50% off coupon, $10), foam (bought in June with a 50% off coupon, $40)

pinning it all together, wrapped the corners like a present

hand stitching. Sloppy, but this is an underlayer

The body of the couch was covered in white back in May (and is due for a washing!!). You can see my tools and 1 cushion done. I went from 3 cushions to 2, because it looks more modern & sleek. 


Also, I am not getting involved with piping!

Thursday, June 3, 2010

!!!

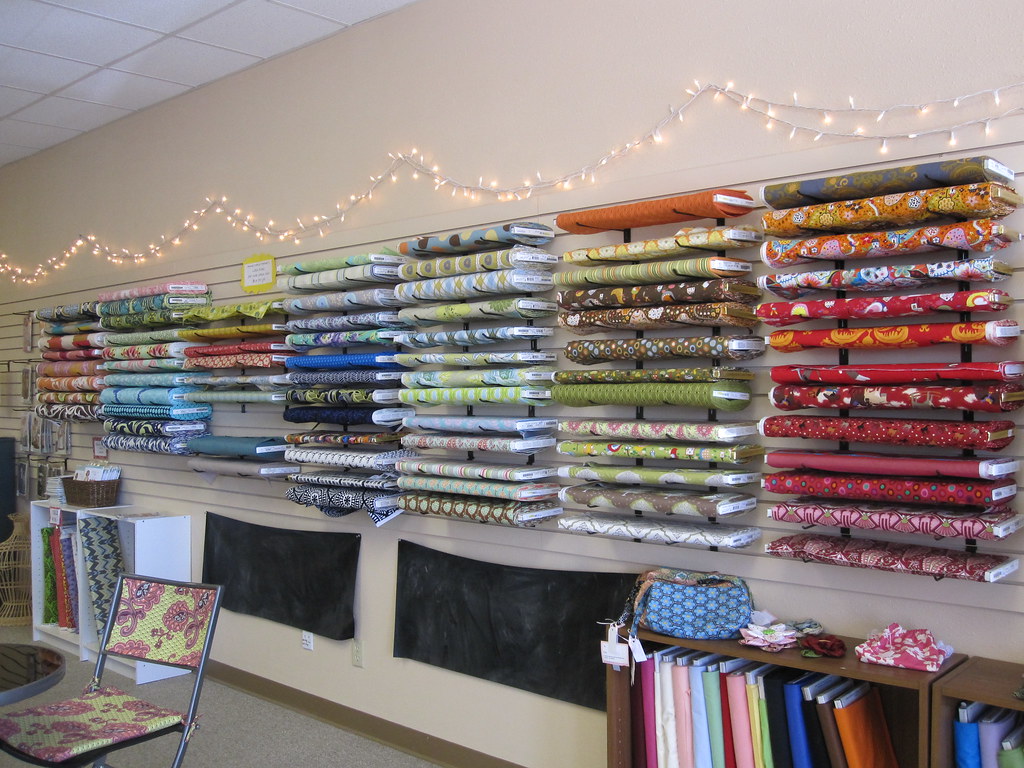
I went back to Hip Stitch today to take picture of my handiwork. All nicely organized by weight and color. 


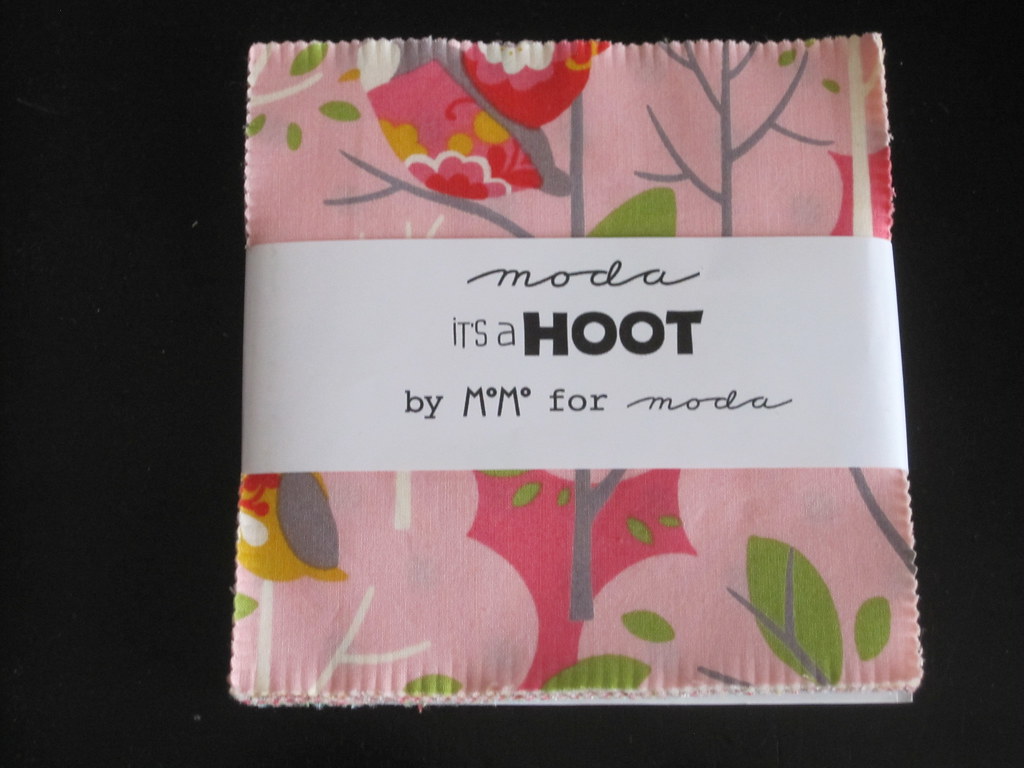
Anyway, Suzanne (the owner) had a surprise for me...

Are you ready??


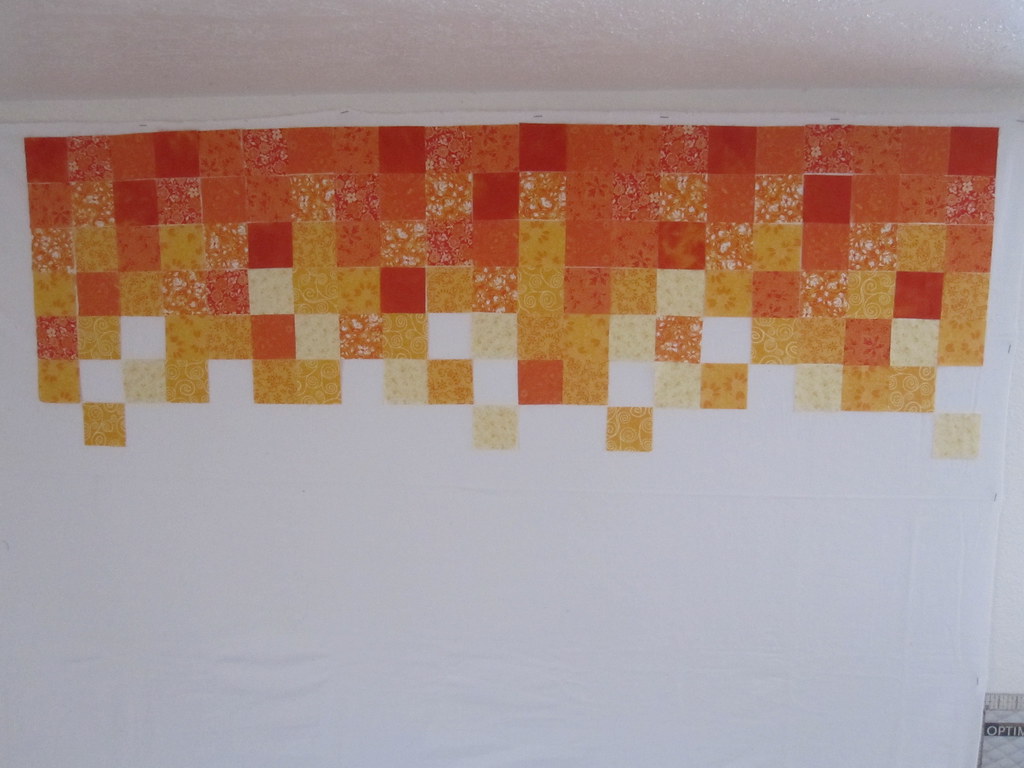
And lest you think that I spend all my time in fabric stores, here is my Pixel Quilt progress (on the design wall).


Tuesday, May 25, 2010

Scraps

I made this little pouch for a friend using my quilt scraps.


I have made PLENTY of zipper pouches. I have always found them to be easy. So I don't know what possessed me to try a new pattern. The Oh, Fransson! Bag pattern. I will not link to it because I don't want you to suffer. I love her quilts, but I think this pattern and I could not make friends. This is the tutorial I first used years ago. It's awesome. 


(Also, my point & shoot pictures are kinda fuzzy. Any suggestions? It used to take really awesome pictures...Dirty lens?)

Friday, May 21, 2010

Pink Orange Quilts

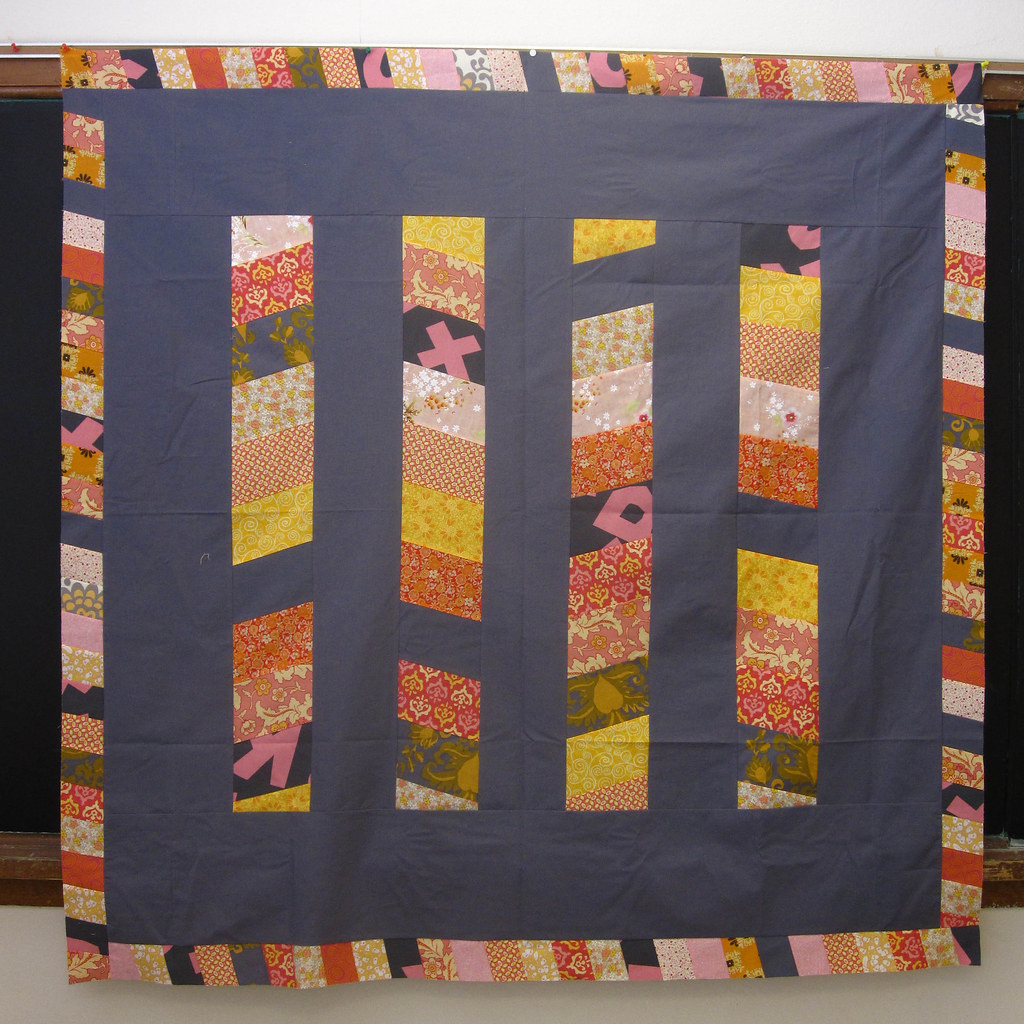
Here's the finished quilt top for my Pink Orange Grey quilt. Measure about 60" square


Josh suggested backing it with a creamy orange. Maybe a grey corner. I'll have to play around this weekend.


I had so many 2.5" strips cut from my original design and the border, that I decided to cut them into 2.5" squares. I used my rotary PAPER cutter with a new blade. It was awesome.


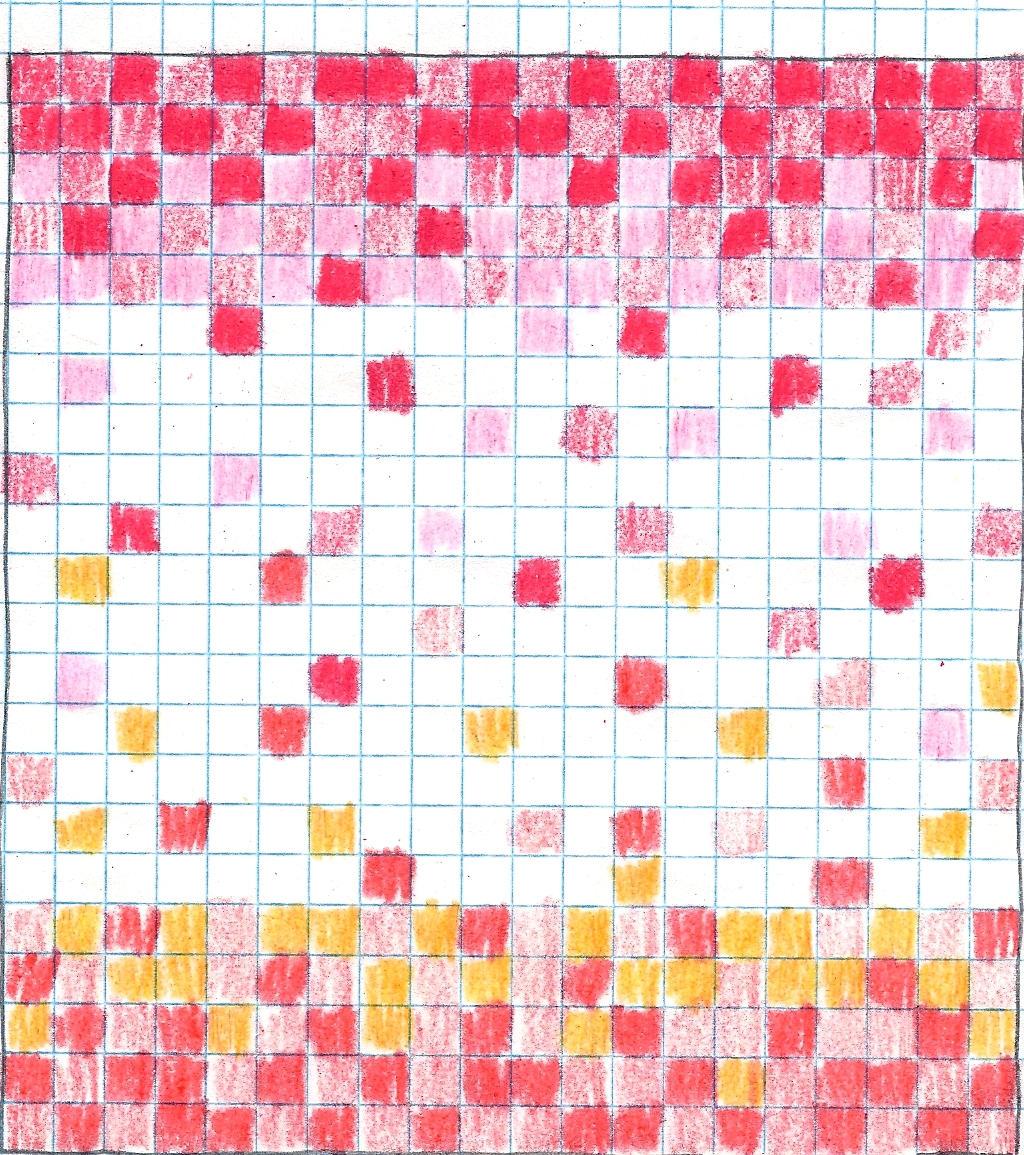
So here's my design for Pink Orange V2.0 (because each square will the 2" finished!). Josh says the middle should be a cream color, so I'm thinking a natural muslin (I already have some). I've already made some changes in my mind (the cream should creep up like the colors fall down). I estimate that I'll need about 250 colored blocks, 125 pinks, 125 oranges. I'm just going to cut a few cream squares (maybe 15?), and leave the rest in strips and cut them once I figure out exactly where the pieces will go. I wish I had a design wall (no room :(  ). Planned size is 40" x 42"


Thursday, April 22, 2010

The State Fair Frock Grosgrain Giveaway

The State Fair Frock Grosgrain Giveaway


How awesome is this dress. Seriously. So awesome that it's the Frock by Friday poster-child! I was just showing the boy how awesome all of her clothes are, and gearing up for the Frock by friday sew-a-long next week. Can't wait!

A Frock By Friday

A Frock By Friday


Next week should be a slow week at school (2 days of conferences, so no students, 1 field trip day), so I SHOULD have time to participate in the Grosgrain Frock by Friday sew-a-long. I think maybe I would be more successful in clothing sewing if I paced myself instead of trying to finish in 1 day.